
iStorage Server Online Help

| Create iSCSI device | KernSafe iSCSI SAN User Manual |
|
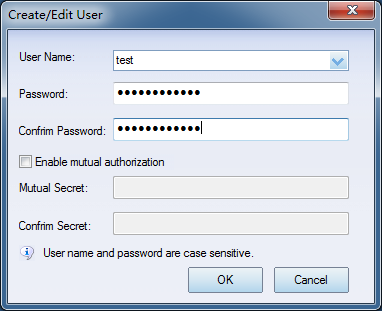
KernSafe iSCSI SAN is an IP Storage solution, which allow user to share the local storage device from servers to other servers via network. Firstly, user will need to create a user account and a user group. Then user can select the storage device for sharing and create the iSCSI mapping. Other users can access the iSCSI device with iSCSI initiator. Three easy and simple steps provide the freedom for users to share their files effectively and securely. Create CHAP (user and user group) User need to create at least one CHAP user account (by default, secret key is 123456781234) and one user group for CHAP authentication. For example, user can create a user account with username “test” and a user group with name “Administrators”. To create user account, click on the Users item in left tree panel and on right panel, right click on it and select New User... option. In the prompted dialog, user can specify the username and input the account password.
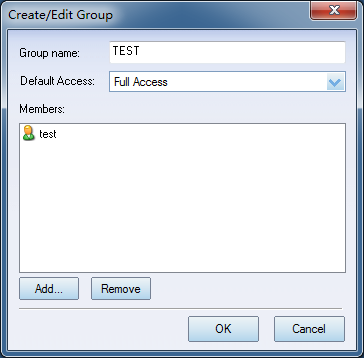
Steps to create user group is similar to creating user account. Click the Groups item in the tree panel, right click on the right panel and select New Group.. option. In the prompted window, user can specify the group name and add users to the group by clicking the Add button at the bottom of the dialog.
Create iSCSI device User can create the iSCSI device from different type of storage media. Click the Create button in the main window to launch the Create iSCSI Target Wizard.
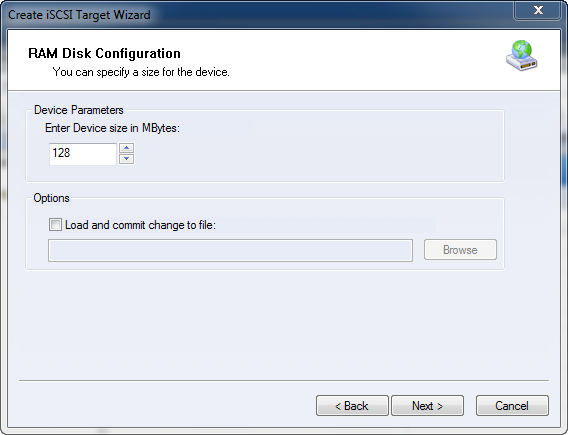
There are 9 different types of storage media listed as followed: 1. RAM Space
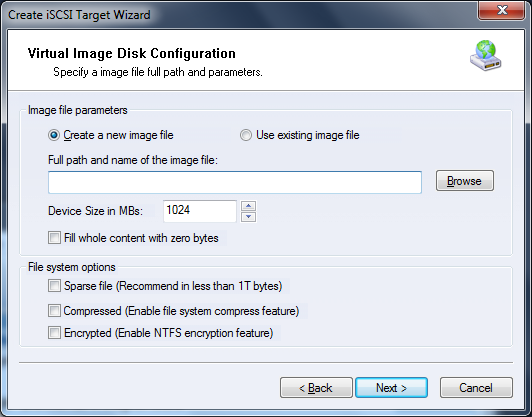
User can specify the capacity of the memory that will be used for RAM disk device. 2. Standard Image File The standard image file disk device is based on an image file created on server’s local hard drive. The volume of image file disk device is predefined when creating the image file. User can select to create a new image or load the existed image.
If using existing image file, user just need to browse and open
the image file. To create a new image file, user needs to specify
the capacity of the image.
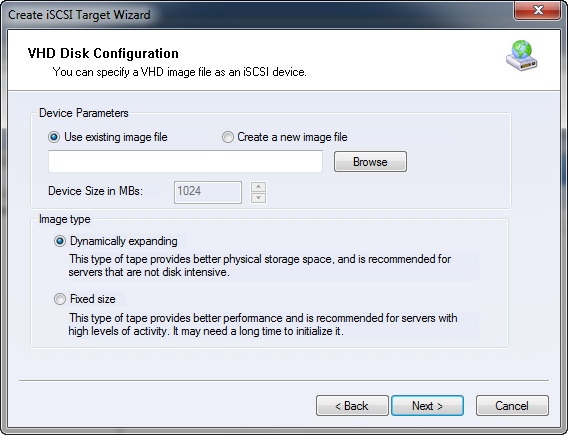
3. Virtual Hard Disk (VHD and VHDX) Image File
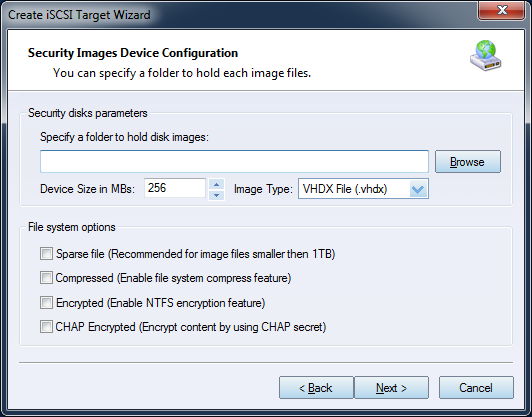
Like 2, but it is a VHD/VHDX image file which can take snapshot and you can choose the image type of dynamically expanding or fixed size. 4. Security Images The secure image file disk device is based on encrypted image file. All the data stored in the image file is encrypted with high definition encryption algorithm. Different users have their own image file. The image files are separated physically on server. This design can provide strong protection to the data and prevent the interaction between different users. User can store the sensitive data in secure image file disk drive.
To create the secure image file disk device, user needs to select a work path and specify the capacity of the disk. Each time when a new user log on to the server, an according disk image will be created automatically in the predefined work path. There are several options to choose from:
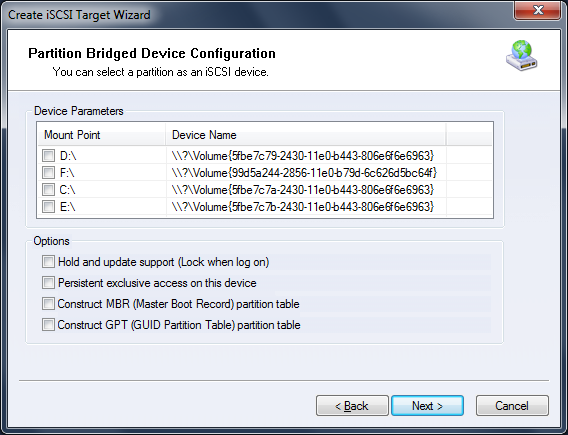
5. Disk Partition The Disk Partition device is mapping a disk partition on the server machine to an iSCSI disk device. The entire partition will be used to share with incoming users.
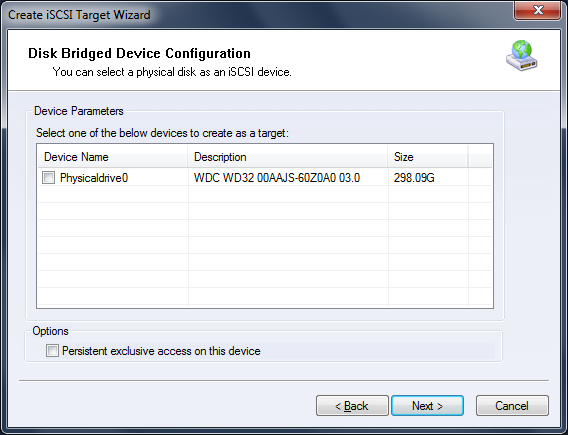
To create Disk Partition device, user just need to select the partition on the server. 6. Physical Disk Physical disk device is mapping a physical hard disk on the server machine to an iSCSI disk device.
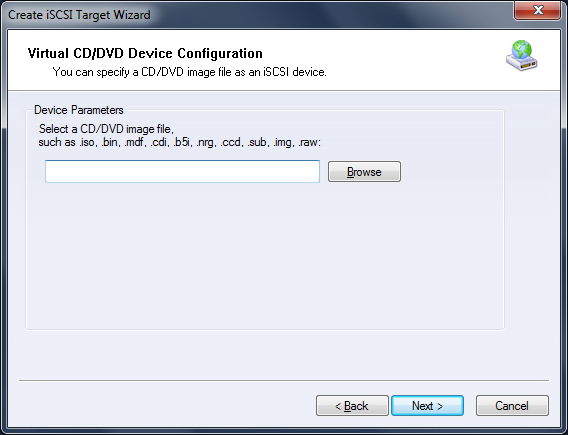
To create physical disk device, user needs to select the disk on server. 7. Virtual Optical Drive Virtual CD/DVD device is based on a CD/DVD image file on the server. The image will be mapped to a virtual CD/DVD ROM to the incoming users. Most of the popular disk image file format are supported, like .iso, .bin, .mdf etc.
8. Virtual Recordable Drive Choosing this feature will create virtual CD/DVD-RW burner that will be exported as iSCSI target allowing any client to burn data directly onto ISO files that will be stored on client machine. You may choose if it will be a standalone file, or auto-mounted file. Standalone stays in drive after burning process will finish while auto-mounted (auto-loader) automatically loads blank ISO after burning process is finished.
9. Physical Drive The CD/DVD/RW device will map a physical CD/DVD ROM such as ATA/IDE/SCSI CD/DVD/RW-ROM to all incoming users. For each user, the client machine will have a new CD/DVD ROM drive in the system.
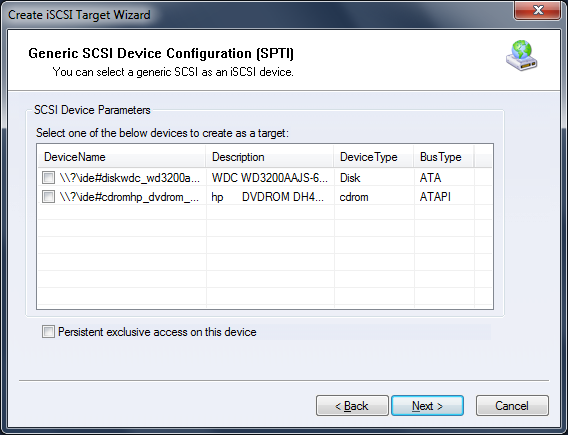
10. Generic SCSI Any standard SCSI device, such as hard drive, optical scanner, fast-speed printer, can be mapped by KernSafe iSCSI SAN so as to be shared via local network. Using generic SCSI bridge device can create a virtual iSCSI device, which is bridged to local SCSI device.
User can select the physical SCSI device in the system as target and create the virtual generic SCSI device.
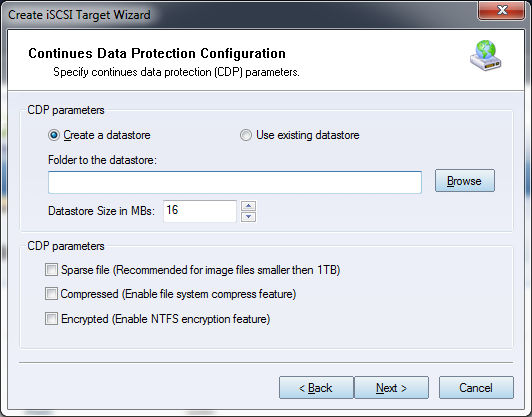
11. CDP Continuous data protection will allow you to create a target that
will be constantly backed up. Therefore if you will have any
problem with your data, you will be able to easily restore it from
any given point in time, since after setting CDP up, no additional
configuration is needed.
12. Snapshot Linked Target Creating snapshot linked target allows for easy creation of
snapshots for a target to which it is linked to.
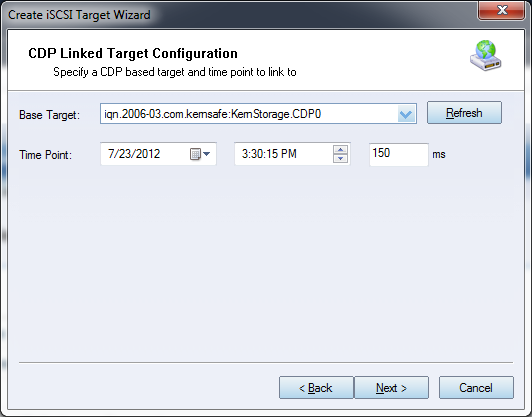
13. CDP Linked Target Creating CDP linked target allows for easy creation of
continuous data protection for a target to which it is linked to.
|
|


SUPPORT
- Forum
- Support Ticket
- [email protected]

- Voice Mail:
- +1 (518) 289-4888